 Making homemade cinnamon rolls used to frighten me, almost in the same way that singing karaoke and being around children does. I wished I could be some pro, but really, the idea of it gave me the heebie jeebies.
But then one day I realized I couldn’t let fear overcome my life. I longed for a life where I could wake up on a sunny Saturday morning, sneak into the kitchen and make homemade cinnamon rolls for my family without having a brain aneurysm over the idea of using yeast.
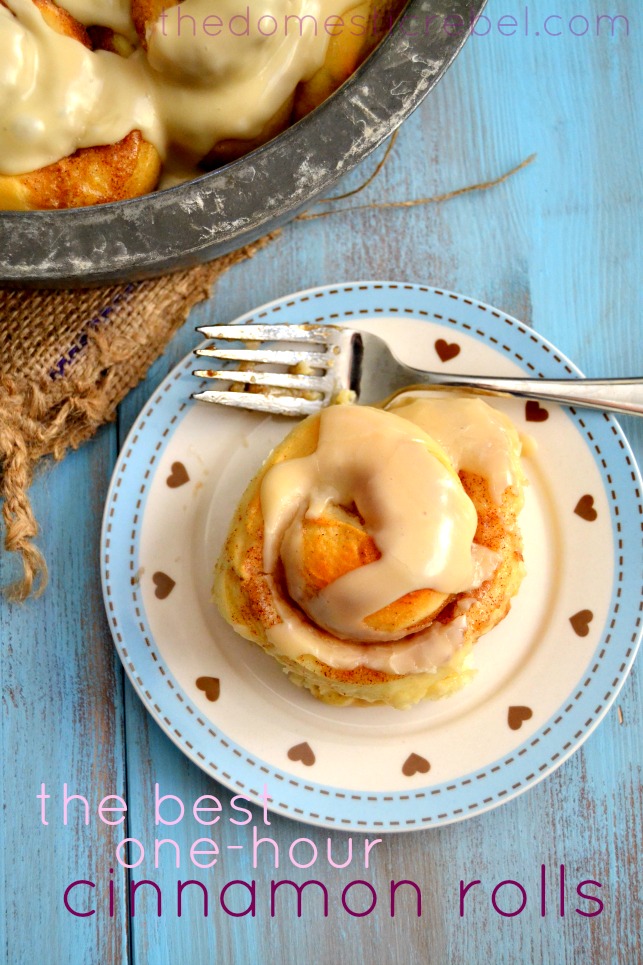
Then I found this recipe and the rest was history, folks. These are hands-down the best cinnamon rolls you’ll ever eat, especially since they’re made from start to finish in one hour. Seriously, you can’t beat that timing!
 Most cinnamon rolls take a good several hours to rest, rise, and bake. You could have made and eaten an entire couple batches of these before your first traditional recipe even hits the oven.
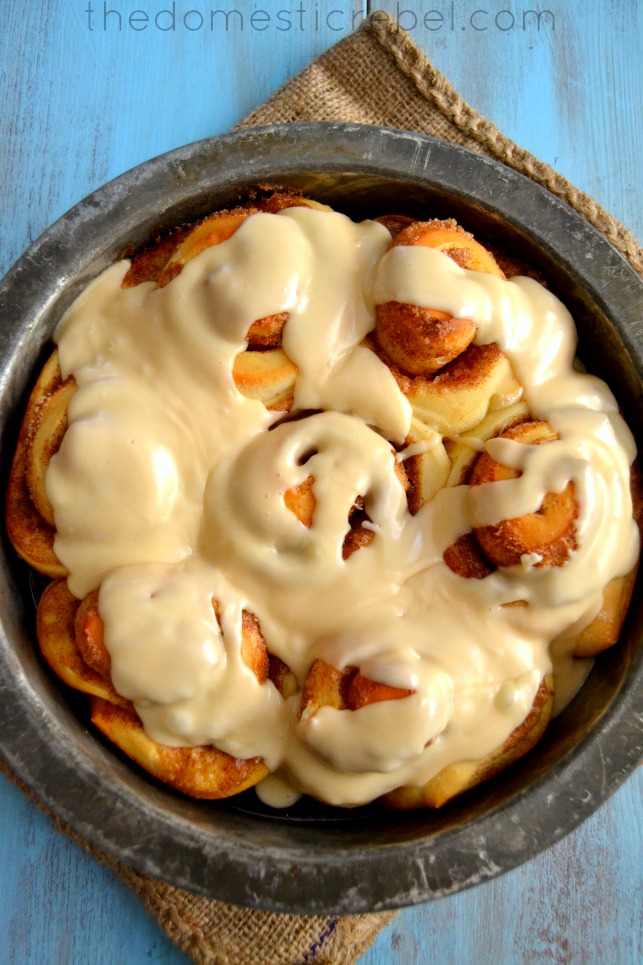
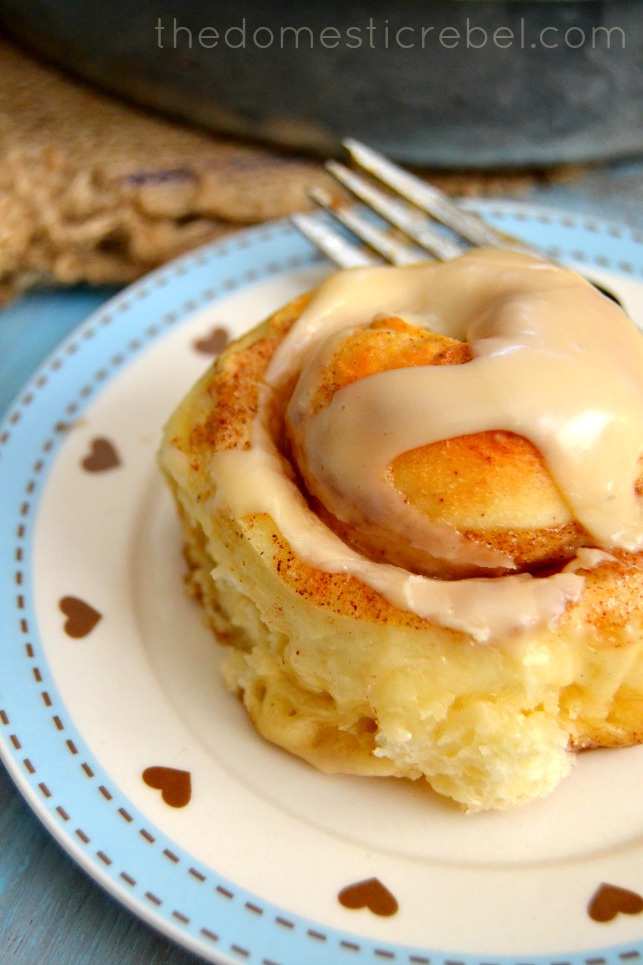
 Best of all, these scratch-made cinnamon rolls have an impeccable dough that’s not too sweet, tender and soft with the perfect amount of chewiness. It encircles that decadent, brown sugar & cinnamon filling that oozes out of the rolls and creates a nice, sticky glaze on the bottom of the pan. Just typing this is making my mouth water! And to top it off, the sweet vanilla butter glaze. Simple, quick, and oh-so satisfying.
And hey, guess what? You have twenty-four hours in your day, so spend one making these cinnamon rolls! You won’t regret it!
 *recipe from Ali
- 1/4 cup butter
- 1 cup milk (I used 1%)
- 1 pkt yeast
- 3 & 1/2 cups all-purpose flour, divided
- 1/4 cup white sugar
- 1/2 tsp salt
- 1 egg
- FOR CINNAMON SUGAR FILLING:
- 1/3 cup white sugar
- 1/3 cup brown sugar
- 2 Tbsp cinnamon
- 4 Tbsp butter, softened
- FOR VANILLA BUTTER GLAZE:
- 1/4 cup butter, melted
- 1 tsp vanilla
- 1 Tbsp milk
- 1 & 1/2 cups powdered sugar
- Preheat oven to 350 degrees F. In a microwave-safe bowl, combine the butter and the milk. Heat on HIGH for one minute, then remove and stir. Continue microwaving in 20 second intervals, stirring after each, until butter has melted and milk is warm to the touch but not hot. Meanwhile, in a separate bowl, whisk together 3 cups of the flour, the sugar and the salt until combined.
- In the bowl of a stand mixer, combine the yeast and the milk mixture and whisk together by hand. Add the flour mixture and egg all at once, and using the paddle attachment, beat on medium-low speed until combined. The dough will likely stick to the sides of the bowl, so sprinkle in the remaining 1/2 cup of flour to help the dough come together in a ball. Once the dough has pulled away from the sides and forms a ball, continue to beat the dough for 5 minutes on medium-low speed. Remove the dough hook and cover the dough with a damp cloth for 10 minutes to rest.
- While the dough rests, prepare your filling ingredients by mixing them together in a bowl until combined. Also dust a flat work surface with flour.
- Turn the dough out onto the floured work surface. Using a floured rolling pin, roll the dough out into a large rectangle, about 14×9 inches in size. I did NOT measure my dough out; I only rolled it out and it turned out fine. Honestly, just roll into a decently-sized rectangular shape to your desired thickness. Spread the softened butter over the surface of the dough and evenly spread on the filling mixture.
- Beginning at the longest edge furthest from you, begin rolling up the dough as tightly as possible. Pinch the final seam gently to help seal it up. Using a sharp knife, cut both ends of the dough (the doughiest parts you’ll likely discard), and then begin evenly cutting the dough into about 12 equal pieces. You can also use unflavored dental floss to cut the dough, but I used a knife.
- Place the rolls into two greased 9″ cake pans. Cover the pans with damp towels and place the pans on top of your oven range for 25 minutes (or another warm place for them to rise). After the rolls have risen, uncover the dish and bake for approx. 15-20 minutes or until the rolls are golden, cooked through and bubbling.
- Remove from the oven and allow the rolls to briefly cool for about 5 minutes. During this time, prepare your icing: in a medium bowl, whisk together the melted butter, vanilla, milk and powdered sugar until combined. Drizzle evenly over the rolls, and serve.
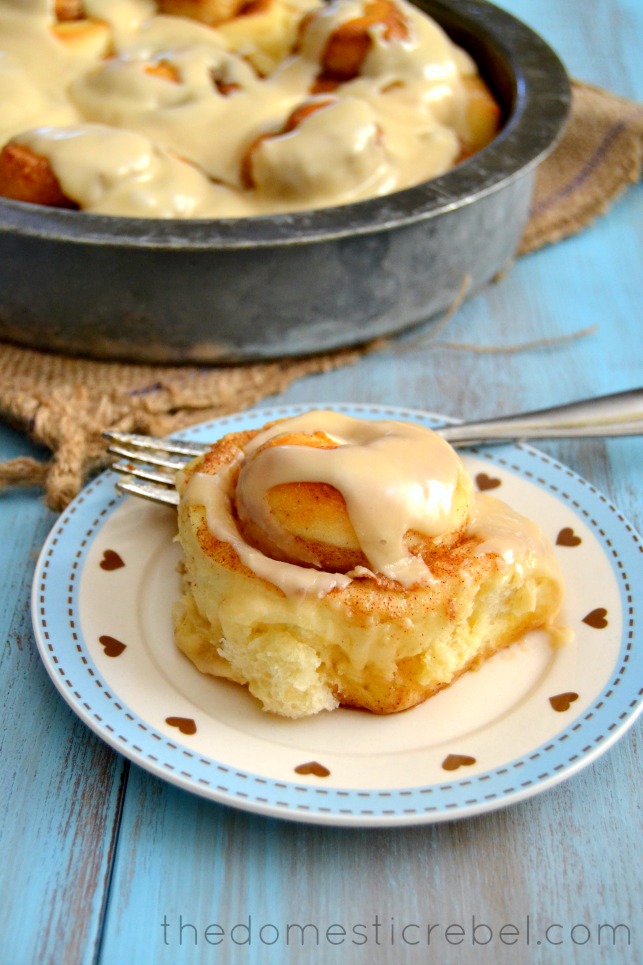
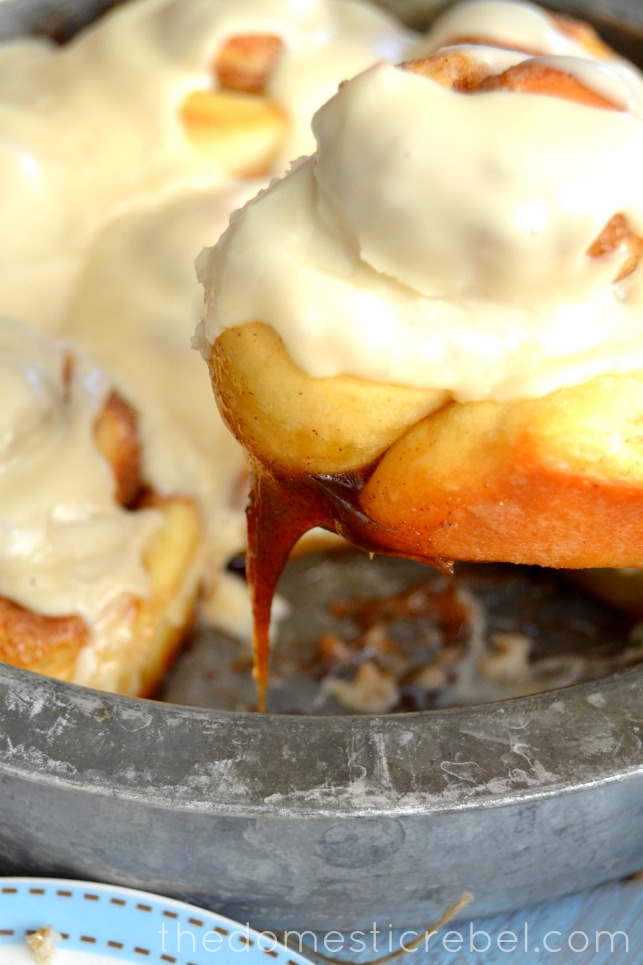
I made this initially for the blog…and promptly ate HALF of the batch while photographing it (a downside to this job). Within a day, I’d already made TWO more batches. It’s seriously SUCH a foolproof recipe! The dough is always so soft and tender, with that great chewy texture we love in cinnamon rolls. And I love the sticky underside of the rolls from the seeped out butter and brown sugar filling. It creates that delectable, tacky glaze on the bottom of each roll that is so sweet and decadent. Finally, the drizzling of the sugary vanilla butter glaze finishes these rolls off and is the perfect icing on the..er, roll. I know you’ll love these as much as I did!
Have a fantastical day!!
xo, Hayley
Nancy P.@thebittersideofsweet says
I always shy away from homemade cinnamon rolls because it just seems to hard to make. These look fantastic! Definitely giving these a try!!
Taylor @ Food Faith Fitness says
I’ve been trying to develop a cinnamon roll recipe, having never made a cinnamon roll ever in my life, and not looking at other recipes for ideas. Clearly, it has been a bad choice.
These look amazing and I want them all now.
P.s Being around kids totally freaks me out too! But kareoke? My life. Pinned!
Kirsten says
wondering when to change from paddle attachment to dough hook? I haven’t made cinnamon rolls before and have a new Kitchenaid so would love to try it out with this recipe
Holly @ Life in the Lofthouse says
These look amazing!!! One hour cinnamon rolls?? Yes, please! 😀
Barbara says
I was so pleased to see this recipe, Cinnamon Rolls in 1 hr??
Not everyone has a stand mixer. Mixing by hand is going to take a lot longer than it would with a stand mixer. So it was very disappointing to me …. and misleading to say the least.
Marisa says
I did mine by hand and it did not take longer 🙂
Sophia @ NY Foodgasm says
These look sooooo amazing and THANK YOU for making it easier!!!
Faith @ Pixie Dust Kitchen says
Ooh I love making cinnamon rolls- but don’t like that it’s usually an all-day affair. Clearly this recipe is for me. And I want to drink that glaze off a spoon.
Jess @ On Sugar Mountain says
Soooooo this means, in theory, I could make 24 batches of these cinnamon rolls in one day? 😀 Because obviously I need that many in my life. Right now. (drools over keyboard).
Kayle (The Cooking Actress) says
well I obviously NEEEED to make these!!! I could start now and have some by 11 tonight 😛
Ikhlas says
I’m scared of using yeast too, Hayley! But these look superb! Love the sticky brown sugar residue on the bottom of the rolls.
Question: how many teaspoons or tablespoons of yeast is one packet?
Jen says
Great question!
1 envelope or packet of Active Dry Yeast, Instant Yeast, Rapid Rise Yeast, Fast Rising Yeast or Bread Machine Yeast weighs 1/4 ounce or 7 grams which equals 2 1/4 teaspoons (11 mL).
Renee @ Awesome on $20 says
Making cinnamon rolls does seem so daunting. These sound perfect.
Jen says
When do you switch from using the paddle attachment to the dough hook attachment? How do you prevent the dough from climbing up the dough hook attachment?
Thanks!
thedomesticrebel says
Hi Jen! For these rolls, you’ll be using the dough attachment the entire time. And if the dough climbs up the dough hook, just simply push it off with a rubber spatula or knife 🙂
Amy @ Amy's Healthy Baking says
I love your props in these photos! That well-worn pan is my absolute favorite. Is it like that because you’ve used it so much, or can I buy one somewhere for me to use too? 🙂 And 1-hour cinnamon rolls are always a plus — or a huge danger because it’s 10x easier to eat too many!
Laura says
These sound so good! I was just about to go make butterfly cakes but now all I want is to eat these!
Rachel Lei says
Wow!!! These are fantastic and so easy and quick to make. I tuned my oven on and then shut it off and let the rolls rise in there under wet towels and it worked great. Was quite toasty in there. And I added 4 ounces of cream cheese to the icing. Next time I might try some nuts in the filling. But the basic recipe is superb. Thanks!!
thedomesticrebel says
Rachel, SO HAPPY to hear it turned out for you! Adding nuts would be awesome. 🙂 thanks for your comment!
Kelsey says
Oh am I glad I found this recipe on Pinterest!! Cinnamon rolls are my favourite and I can’t wait to try these!! When I found my no-knead bread recipe it totally changed my life (read: easy yeast recipe!)…I have a feeling this is going to fall in the same bucket 😉 thank you! xx
Miriam says
Maybe it’s just me, but I found this recipe to be written in a confusing way. We’re told to mix the milk mixture and flour using the paddle attachment, but then told to remove the dough hook. Then we’re told to mix the filling ingredients, of which the softened butter is one, and then told to spread on the softened butter and then the filling mixture.
Dana says
These are so pretty! I need them all in my face right now !
Amy says
I made these yesterday on a whim, because, well, I could, since they only take an hour.
I’ve done many a bread dough in my stand mixer, so I knew to use the dough hook, but the recipe should be clarified.
The rolls were very good. They were very sweet and had a lovely texture. My family of 5 devoured the whole pan in one sitting. I will definitely be making again, perhaps even freezing some after the cutting stage for future use! Thank you for this recipe!
thedomesticrebel says
Amy, thanks for your suggestion — I’ll edit the recipe to include the dough hook. I’m so happy to hear you loved them! We made them on Christmas morning and I had more than a few.. 😉 Have a very Happy New Year!
Helen says
Dear domesticrebel: Step 3 instructs us to mix together the filling ingredients but Step 4 instructs us to spread the soften butter onto the rolled out dough and then top it with the filling mixture. This is very confusing because we have already mixed the butter in with the other filling ingredients. Perhaps you might consider editing the recipe so that Step 3 says to reserve the softened butter and mix the remaining filling ingredients together? GREAT Recipe!
thedomesticrebel says
Helen, I’ll have to edit out the instructions to be more clear – sorry about that! The softened butter is used to spread over the dough before adding the brown sugar/cinnamon filling so it adheres to the dough. Hope that helps!
Caren says
Question have you ever mixed and refridgered overnight and then cooked the next morning.
thedomesticrebel says
Hi Caren, I would recommend making these all at once since the dough is meant to be made in an hour.
Janie says
I have mine in the oven as we speak! I made a other recipe a few months ago, having never made cinnamon rolls beforw, and they looked like something mauled them. These were infinitely easier to make, and they smell freaking delicious! The only modification I have made was to take out the extra half cup of 10x sugar from the glaze, but that even tastes amazing. This is a great recipe!
thedomesticrebel says
Thanks Janie!
Shirl says
These are so good and great for first timers. even with few errors came out perfect. Didn’t want the extra butter in the end so we just sprinkled with powdered sugar. Just had the kids make it for their cinnamon loving father for Father’s Day. Thanks again for posting recipe.
thedomesticrebel says
Shirl, so glad you enjoyed them!
Callie says
Hi!! I’m making these for the first time! I had the same questions as some others, it says to use a paddle attachment to blend the flour and milk in the stand mixer, and then later in the recipe you mentions dough hook, wondering where the transition is. Thanks so much!!
thedomesticrebel says
Callie, oops, that’s my mistake. It will turn out no matter what you use, but I like using the dough hook throughout. I’ll fix it!
Teresa says
Fantastic! My husband loved them. I accidentally mixed the 1/4 cup butter in with the cinnamon and sugar mix, which made like a cinnamon sugar paste. I still rubbed soft butter on the dough, but then rubbed on the cinnamon mixture. I actually liked it better because the cinnamon and sugar didn’t spill out. Will do it again that way next time as well.
thedomesticrebel says
Teresa, great tip!
Alisa Chechelnitskiy says
Amazing !!! So fluffy and delicious!!! I made them and I can’t get enough of them!!