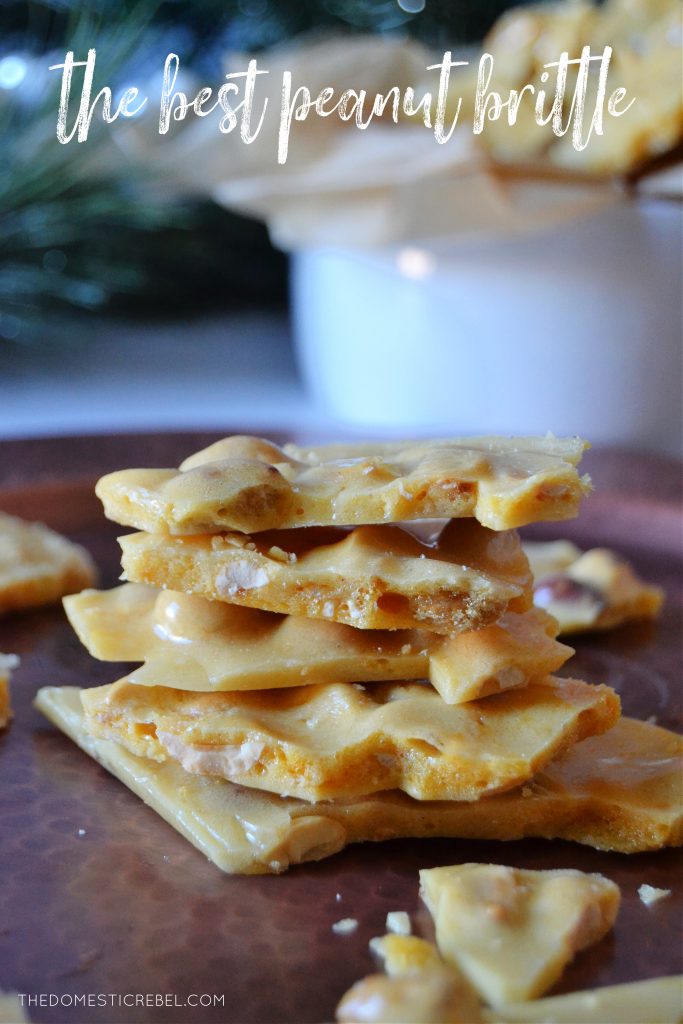
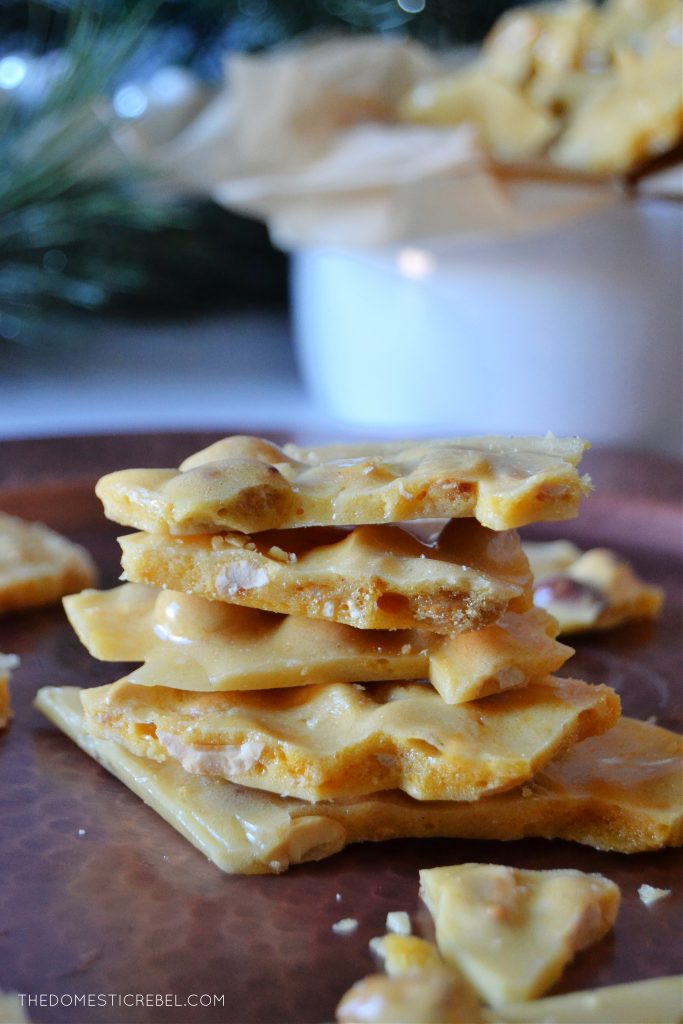
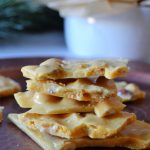
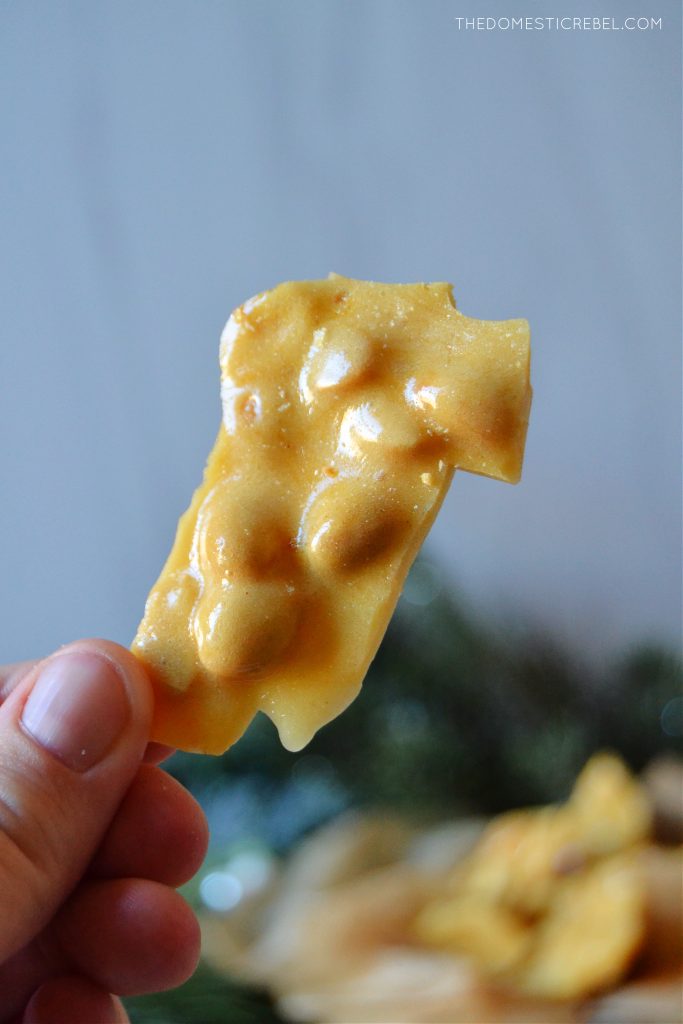
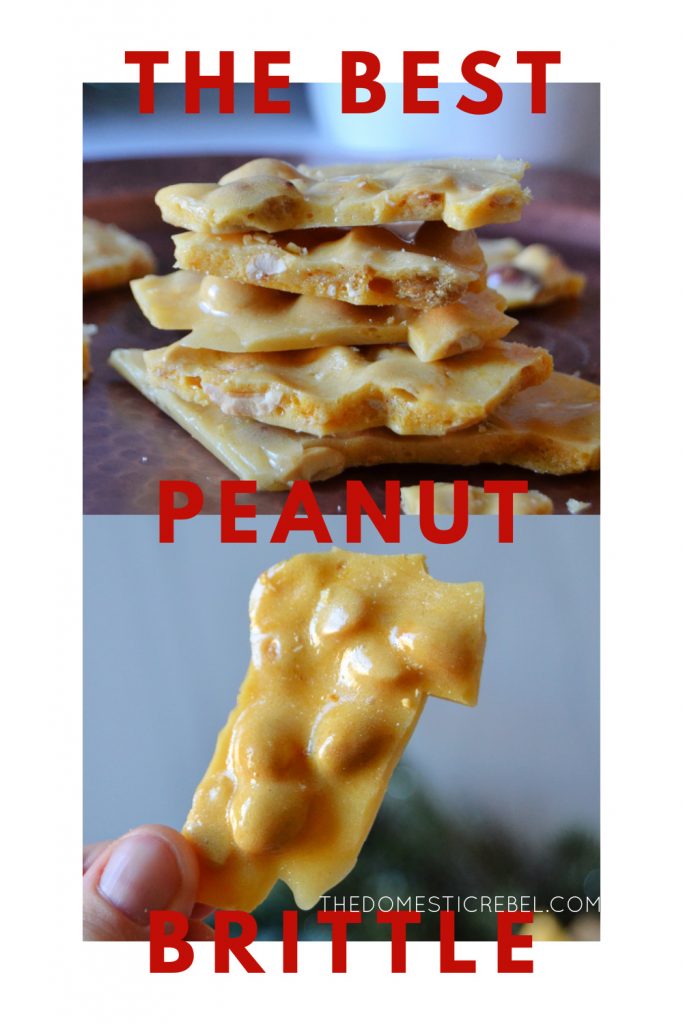
If you’re looking for a killer recipe for Peanut Brittle, this is IT! Super crisp yet and addictively crunchy yet not tooth-breakingly so, it’s sweet, irresistible and utterly divine!
This recipe is a LONG time coming.
Yes, even seasoned food bloggers have fails. Trust and believe, I have had many fails. I had one yesterday. I thought I could be so cavalier with a cookie recipe and skip some chilling steps but it went about as south as you could get. Those were some ugly AF cookies. They didn’t even pretend to look cute.
And for awhile now I have been trying very hard to master peanut brittle and I have finally cracked the system without cracking a tooth. Yippee! One of my qualms with a lot of pre-packaged peanut brittles is that they are so TOUGH that you practically crack a molar on them. Not this brittle recipe. It’s crunchy and addictively crispy but yields when you bite into it, almost like it melts in your mouth. The texture is divine.
Making Peanut Brittle
Making candy doesn’t have to be complicated, although to be fair, it scared me for a very long time! Candy thermometers can be super intimidating, but don’t let that stop you from attempting this recipe. I promise, it’s worth the shot to try because with these helpful tips and tricks, you too can nail this recipe down.
- Have all your ingredients ready and measured. When making candy, this is a MUST. Candy making moves RAPIDLY and you don’t have extra minutes to prep and prepare things. I like to measure out all of my ingredients in little prep bowls ahead of time and have them close to the stove so they are ready when I need them.
- Use a candy thermometer. Sure, you could use the old-fashioned method of dropping the candy into water method, but for the most accurate results, a candy thermometer is a must have. They’re inexpensive, sold everywhere and provide the best results.
- Warm your pan. This is a little trick I picked up when researching candy making. I like to warm my greased jelly roll pan in a 200 degree oven (or as low/warm of a temperature as your oven will go) while the candy mixture is cooking. Why? If the molten candy gets poured onto an ice cold pan, it can seize up right then and there in the shape its in, leaving you very little room to manipulate it. However, when the candy is poured onto a warmed pan, you have a little extra seconds to spread it into an even layer and make it look better so it sets up nicer.
- Baking soda. Baking soda adds a “softer bite” to the brittle, resulting in a still very crunchy and crispy peanut brittle but one that yields with less pressure when bitten which I prefer. I don’t like brittles that are too hard and can break a tooth. However, if you prefer a harder bite and more of a snap, you can omit the baking soda.
Tender, buttery, peanut-forward, amazing Peanut Brittle. I’m so glad I mastered this one for you!
The Best Peanut Brittle
Ingredients
- 1 cup granulated white sugar
- 1/2 cup light corn syrup
- 1/4 tsp salt
- 1/4 cup water
- 1¼ cups dry-roasted peanuts
- 2 Tbsp unsalted butter, softened
- 1 tsp vanilla extract
- 1 tsp baking soda
Instructions
- First things first, read through the recipe thoroughly before beginning and have your items prepped ahead of time in small bowls near the stove. Candy making works quickly and you don't have time to spare to step away when your candy reaches temperature.
- Preheat your oven to a warming temperature or 200° degrees F. Grease an 11x17 jelly roll pan with rimmed sides with cooking spray or butter. You can also line with foil or parchment, but I found it was easier to grease the pan without a liner. Place the greased pan in the warm oven and keep in there until your candy is ready to pour. A warm pan makes it easier for you to manipulate the molten candy.
- Next, in a heavy-bottomed saucepan over medium heat, bring the sugar, corn syrup, salt, and water to a boil, stirring with a wooden spoon until sugar dissolves. Set a candy thermometer into the pot and continue boiling, stirring lightly constantly (lightly as in, don't stir it vigorously - just a light stir, but do stir the entire time it is boiling) until the candy thermometer reaches 250°F. Stir in the peanuts, then continue to boil, stirring constantly until mixture reaches 300° F or hard crack stage.
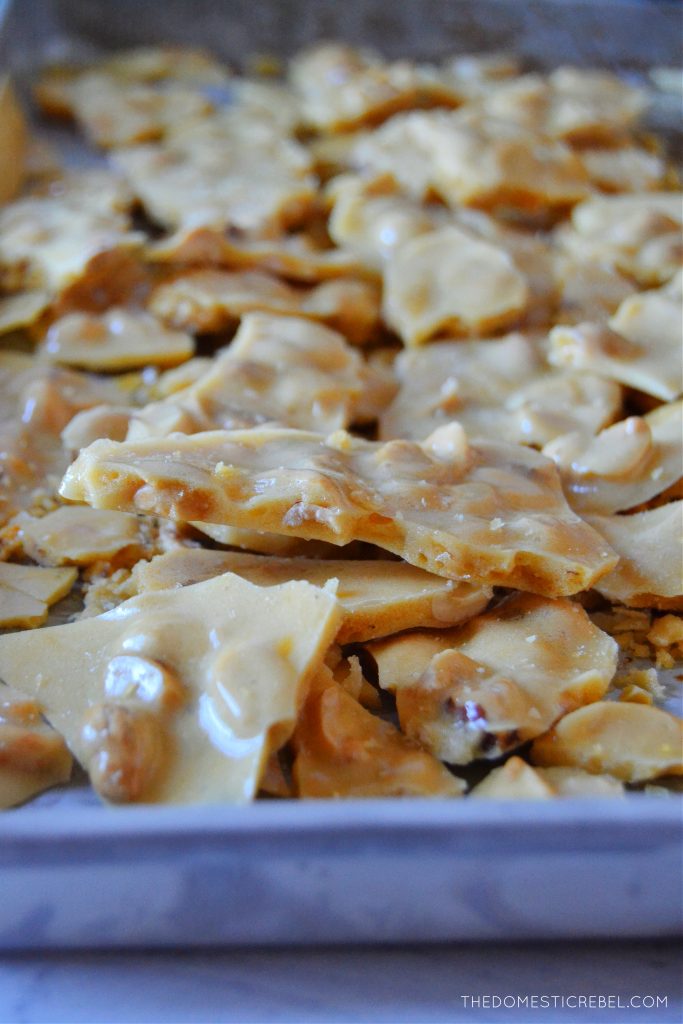
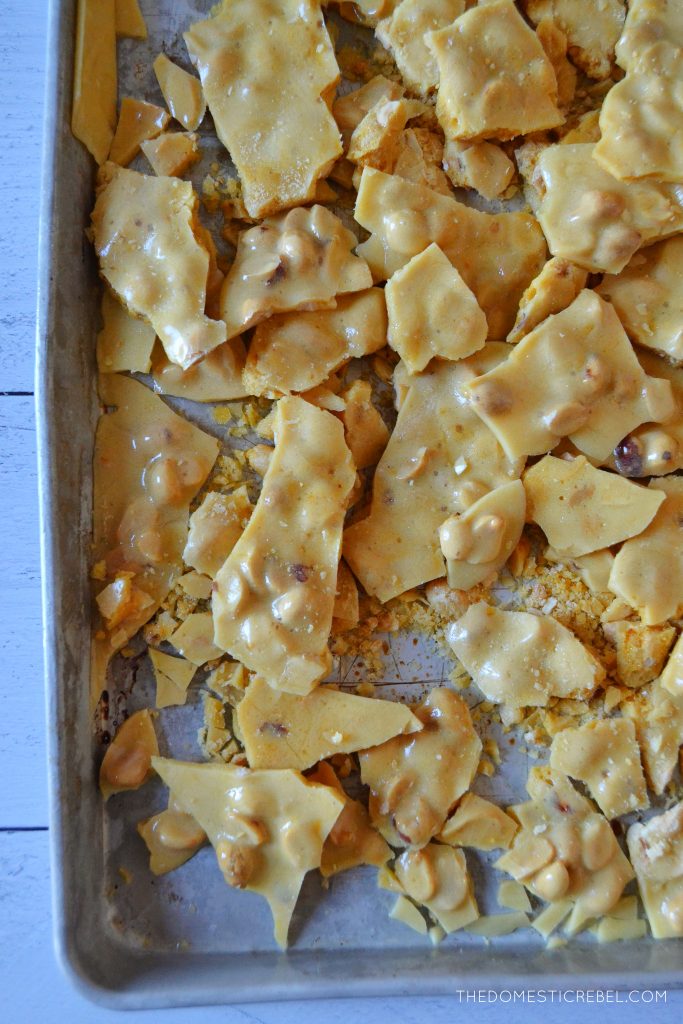
- Remove from the heat and immediately stir in the softened butter (make sure it is truly softened and not hard), the vanilla extract, and the baking soda and stir until foamy and combined, careful not to overmix. Working quickly, remove the jelly roll greased pan from the oven and place on a flat work surface. Pour the molten peanut brittle in a zig zag or circular pattern over the greased pan (as opposed to dumping it in one pile in the middle of the pan) and working as fast as you can, lightly smooth it out as best you can in an even layer. Try not to overwork it too much as this can pop or break some of those air bubbles creating that crispiness.
- Allow brittle to set at room temperature for about 2 hours or until hardened and set. Use a mallet or your hands to break it into pieces. Store in an airtight container at room temperature.
 This peanut brittle is to die for! Seriously so good, even my mom who is meh on brittle could not stop eating it!
Have a super sweet day!
xo, Hayley
Angela says
Excited to try—my go-to recipe calls for raw peanuts and I haven’t been able to find them. Just a tip—check your dry-roasted peanuts ingredients. Our store-brand kind have garlic powder on them ?
Tim Hughes says
First I Freeze my12″ pixza.pan
It will set up nicely when I poor it out. I don’t use thermometers. They break give false readings or just get in the way. I go by the smell and an amber like color. This is the way I was taught and have been doing it this way for a long time. Recipes are pretty standard. It is how you tweak it that makes it good.
Tim+Hughes says
I also.use cast iron skillet. It was my mother’s and her mother’s. It’s about 100 years old. Only use it for peanutbrittle.