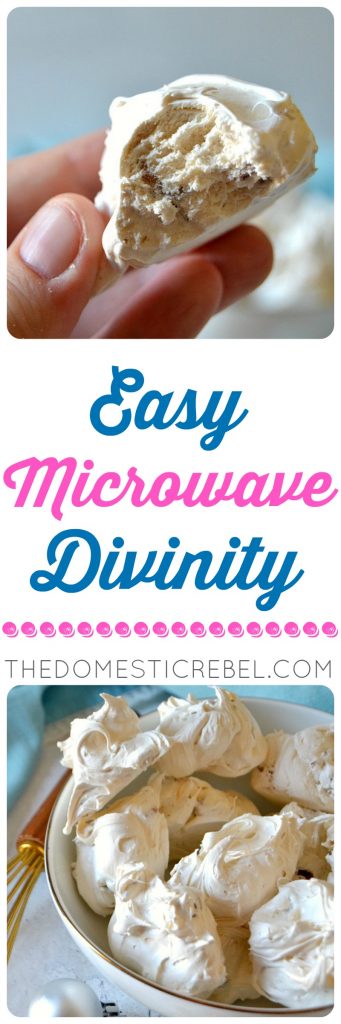
This Easy Microwave Divinity will soon become a family favorite! Learn how to make this often fussy candy simply at home!
Okay, okay. So I know Thanksgiving comes first. I am well aware of the calendar as it has been since the beginning of time.
However, I get a little excited for Christmas and I want to be prepared! With so many more of you staying home for the holidays, whether it be because you are taking time off or working from home, I want to make sure I have ALL of the recipes you’re going to be searching for this holiday baking season. This means being on top of my game before you are searching for it. BTW, that’s kinda how Pinterest works, if you’ve ever wondered! The recipes have to be on there, ready and searchable, in order for us to get the traffic for the holidays.
So yeah, I am in the full Christmas swing here at Casa Parker, baking ALL of the Christmasy things, including divinity!
I have made divinity before, but this recipe is different because it is made partly in the microwave which is SO simple. I was skeptical it would yield the same signature divinity I know from my existing recipe, but boy, was I happy with the result!
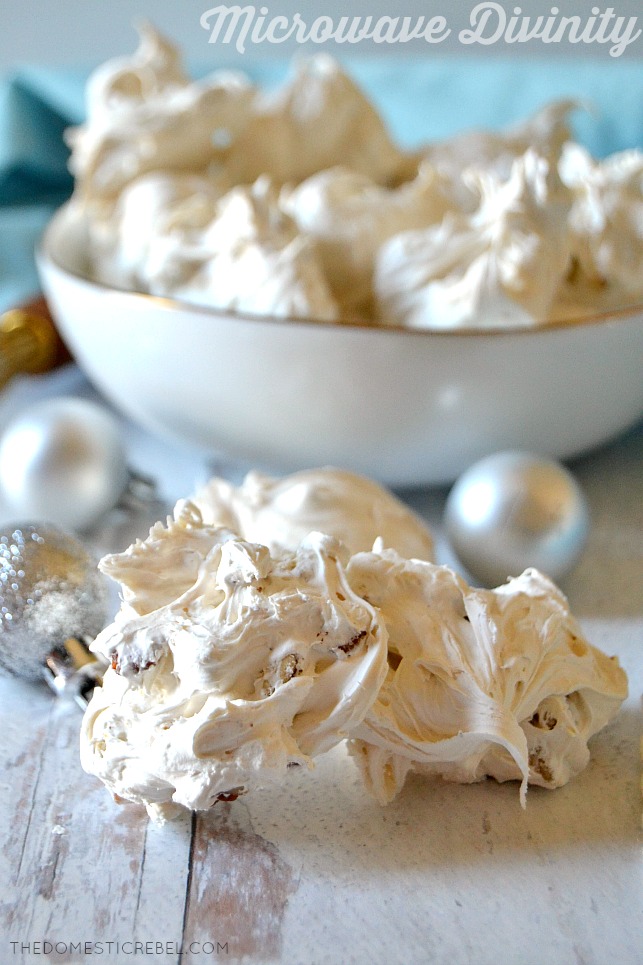
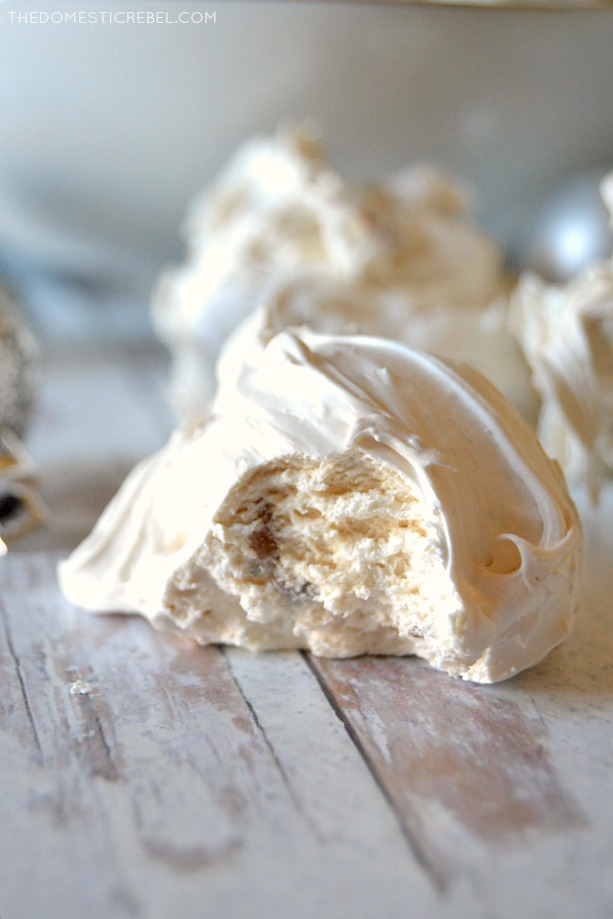
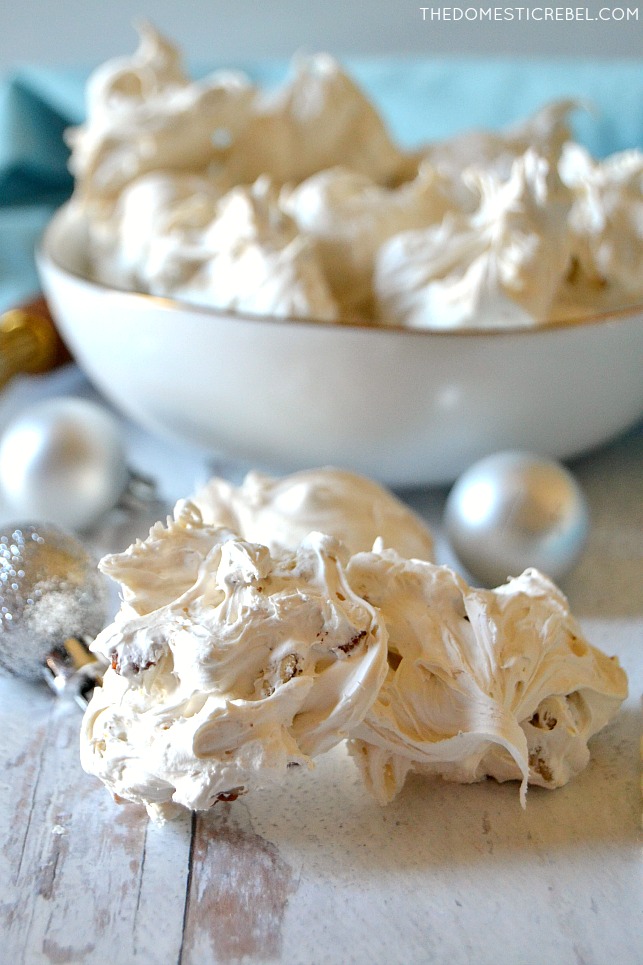
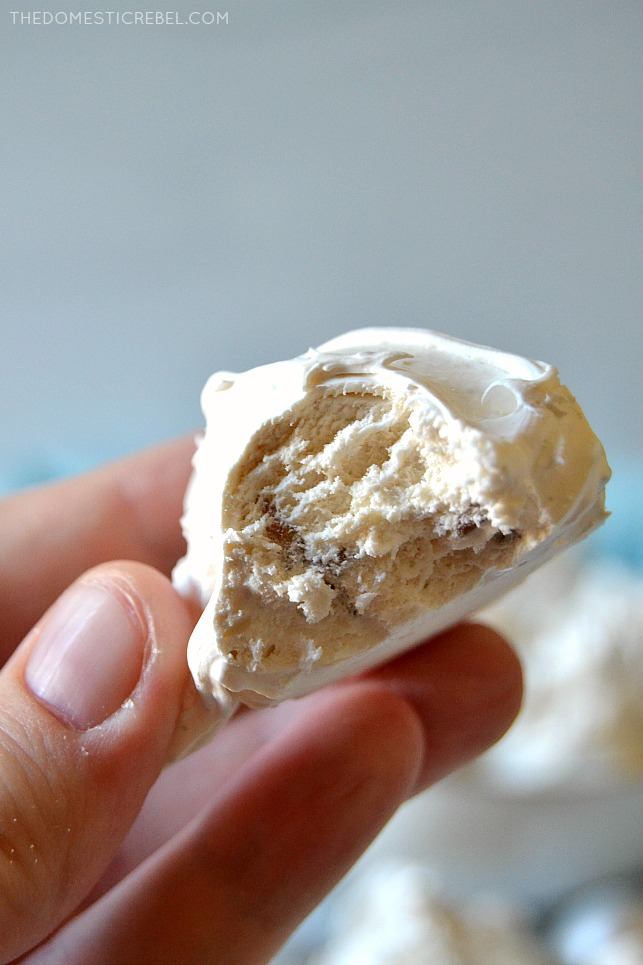
If you’ve never had divinity, it’s kind of an old-fashioned candy that’s a cross between nougat, marshmallow, and fudge in a way. The outside is firmer like a fudge, but the interior is a nougatty, marshmallowy, fluffiness that is so irresistible. It’s light and just so unique – you have to give it a try and see what I mean!
 This recipe is not a quick one, so be warned! It takes at least overnight for them to be finished. The process of actually making them is pretty easy – it takes about 20-25 minutes. But they do need to sit out overnight to dry out some. I know that sounds weird – a dry candy? – but trust me, they are quite sticky and unmanageable when super fresh, so letting them air dry overnight helps firm them up, create an exterior and helps with their fluffy texture. Trust me!
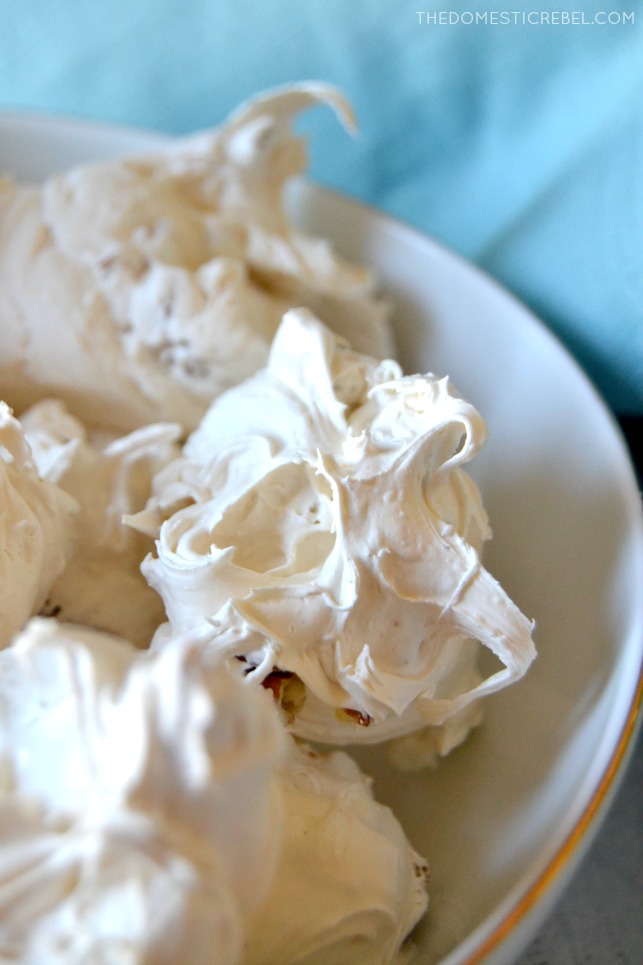 Light, fluffy, chewy and sweet, this Easy Microwave Divinity will soon become your family’s favorite holiday treat!
*adapted slightly from Taste of Home

Easy Microwave Divinity
Equipment
- Candy thermometer
Ingredients
- 2 large egg whites
- 2¼ cups granulated white sugar
- 1/2 cup water
- 1/2 cup light corn syrup
- 1/8 tsp salt
- 1/2 cup chopped pecans
- 1 tsp vanilla extract
Instructions
- Place the egg whites in the bowl of a stand mixer and let come to room temperature, about 30 minutes.
- In a microwave safe 2-qt bowl (I used a large plastic one), combine the sugar, water, corn syrup, and salt. Microwave uncovered on high for 4 minutes; stir until sugar has dissolved. Cook 6-8 minutes longer, stopping to stir every 2 minutes and checking with a candy thermometer for a temperature of 260° (hard-ball stage). This took me exactly at the 8-minute mark. Just before the temperature is reached, begin whipping your egg whites until stiff peaks form.
- With the mixer running on high speed, slowly begin pouring the molten sugar mixture into the egg whites. It should take you a good minute or two to fully add in the hot sugar mixture to the egg whites - pouring in a slow but continuously steady stream. Beat until the candy begins to hold its shape but loses some of its glossiness - this could take anywhere from 15-20 minutes. Around the 15-minute mark, I like to check by spooning about a teaspoonful onto parchment paper; if it holds its shape, it's ready. Once it is at that stage, stir in the pecans and vanilla until just barely combined - overmixing will lead to tough and crumbly divinity.
- Working quickly, drop heaping Tablespoonfuls of the candy onto parchment paper. You should get anywhere from around 16-20 pieces of candy, though you can make smaller pieces to yield more. Allow the candy to sit, uncovered, overnight so it has time to set and dry some to the touch. Store any leftover candies airtight at room temperature.
Notes
 Soft, fluffy, chewy and sweet, these divinity candies are sure to put a smile on everyone’s faces!
Have a super sweet day!
xo, Hayley
Daryl Byers says
Can this recipe be doubled?
thedomesticrebel says
Hi Daryl, I highly recommend making two separate batches. Candy can be tricky and it is easier to make separate ones than double the same recipe.
Emily Evangelista says
To clarify, once the sugar mixture gets up to temp, do we set it aside until stiff peaks form? I imagine there is some time lag if we don’t start whipping until just before the sugar hits target temperature.
thedomesticrebel says
Hi Emily, yes, you should definitely be monitoring the sugar mixture to watch as it approaches temperature, then start whipping the egg whites until they reach stiff peaks. The egg whites shouldn’t take more than a minute or two on high speed, so budget your time before the sugar mixture has reached temp.
Elleni says
Would these hold up ok in an assorted cookie tin or would they soften? I’ve tried meringues but they take on moisture from the other cookies in the tin..wondering if these would have the same problem?
thedomesticrebel says
Hi Elleni, I have not tried to see if it would work, but I would have a feeling they would behave the same way as meringue and take on the moisture from the other cookies.
Elizabeth Walker says
This was the first time I’ve every made divinity and I was nervous because I’ve always heard how tricky it can be. This recipe made it simple and the divinity was delicious! I appreciate that Haley puts descriptions of what it should physically look like, because my blending and microwave times took less than hers. I will definitely use this recipe again!